



How to Remove a Subfloor Without Removing Cabinets
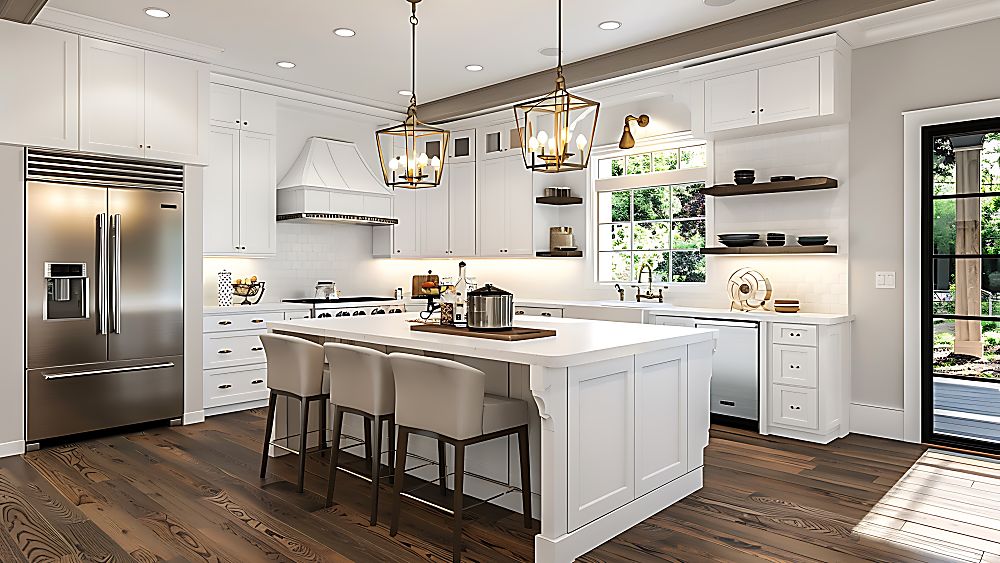
Quick Summary: You can safely remove water-damaged or compromised subflooring around existing kitchen or bathroom cabinets by using a specialized toe-kick saw and an oscillating multi-tool to cut the subfloor flush against the cabinet bases. By setting your saw blade depth precisely to the thickness of the subfloor, cutting the open field into manageable panels, and securing sturdy 2×4 blocking cleats along the joists beneath the cabinet edges, you build a rigid, squeak-free foundation for your replacement flooring without disturbing expensive countertops, plumbing lines, or custom cabinetry.
When you discover water damage, spongy boards, or severe squeaks in your kitchen, bathroom, or laundry room, the underlying issue is almost always a compromised subfloor. If your cabinets, stone countertops, and tile backsplashes are in pristine shape, tearing everything out just to replace the plywood or OSB underneath is an expensive, unnecessary headache. In Western New York, winter slush, leaky dishwasher lines, plumbing condensation, and extreme four-season humidity swings frequently cause moisture to pool near base cabinets. Fortunately, you can surgically extract the damaged subfloor while keeping your cabinetry securely in place.
Why Removing Subfloor Around Intact Cabinets Makes Sense
Kitchen base cabinets and bathroom vanities are typically installed directly onto the subfloor before finished flooring goes down. If a slow drain leak or a burst pipe rots the wood around your sink or refrigerator, that rot often stops just shy of the cabinet baseplates. Removing upper cabinets, granite or quartz countertops, undermount sinks, and complex plumbing lines can easily multiply your renovation costs.
By leaving your cabinets where they stand, you preserve the level alignment of your countertops and backsplashes. Your goal is simply to cut the damaged subfloor as close to the cabinet toe-kick as possible, inspect and reinforce the underlying floor joists, and insert fresh, solid subfloor panels that support your new finished flooring seamlessly.
Essential Tools for Flush Subfloor Removal
Because standard circular saws have wide baseplates that keep the blade several inches away from vertical obstacles, you will need specialized cutting tools to reach right up to your cabinet edges.
A flush-cut toe-kick saw is the premier tool for this task. It features a horizontal arbor that allows the blade to cut completely flush against vertical surfaces, sliding right beneath the overhang of standard kitchen toe-kicks.
An oscillating multi-tool equipped with a bi-metal plunge-cut blade is indispensable for corners, around protruding plumbing pipes, and in tight spots where the round blade of a toe-kick saw cannot fit.
You will also want a standard circular saw for breaking down the open field of the room, a heavy-duty pry bar, a claw hammer, a reciprocating saw for cutting through stubborn old fasteners, a cordless impact driver, 3-inch structural wood screws, 2×4 framing lumber for joist blocking, and safety gear including eye protection, work gloves, and a dust mask.
Step-by-Step Guide to Removing Subfloor Around Cabinet Bases
Step 1: Map the Area and Set Accurate Blade Depths
Before making your first cut, turn off the water supply lines running through the room and verify the locations of all plumbing and electrical conduit beneath your floorboards. Locate an exposed seam, heating vent, or access point in your basement to measure the exact thickness of your subfloor, which is usually either 5/8-inch or 3/4-inch plywood or oriented strand board.
Set the cutting depth on your standard circular saw to match that exact measurement. Setting your blade depth precisely ensures you cut cleanly through the subfloor panel without scoring, weakening, or notching the structural floor joists running underneath.
Step 2: Cut the Open Field into Manageable Sections
Start in the open area of the room, away from the cabinets. Using your circular saw set to the precise subfloor depth, cut the floor into a grid of manageable panels, roughly two feet by two feet or two feet by four feet. Cutting the subfloor into smaller rectangles relieves the tension across the tongue-and-groove joints and allows you to pry up the rotten or warped sections in pieces rather than fighting a massive, unwieldy sheet.
Step 3: Make Precision Flush Cuts Along the Toe-Kicks
Once the center of the room is open, focus on the perimeter abutting your base cabinets. Position your toe-kick saw flat against the floor so the blade tracks directly against the face of the cabinet toe-kick. Slowly glide the saw along the perimeter, maintaining a smooth, consistent cut. The saw blade will separate the exposed subfloor from the portion of subfloor running underneath the cabinet walls.
When you reach inside corners where the round circular blade cannot finish the cut, power on your oscillating multi-tool. Use a plunge blade to slice through the final couple of inches cleanly, taking care not to nick the finished face of your cabinet trim.
Step 4: Pry the Damaged Panels and Clean the Fasteners
Slide the flat blade of a heavy pry bar into the relief cuts you created across the floor. Gently lever each section upward. If an older subfloor was installed with ring-shank nails or construction adhesive, work methodically around the joists to prevent splintering the framing.
After lifting all damaged wood away, pull out all leftover nails, staples, and screws using a demolition bar or locking pliers. Never hammer old fasteners flat into the joists, as uneven surfaces will cause the replacement subfloor to rock, groan, and squeak when walked on.
Step 5: Install Structural Cleats Under the Cabinet Perimeter
When you cut a subfloor flush with the toe-kick, the cut edge is often left floating between joists with no solid framing underneath it. You cannot lay a new subfloor over an unsupported seam without risking flex and cracking in your finished flooring.
To solve this, cut pieces of 2×4 framing lumber to fit between the existing floor joists, positioning them flat against the underside of the cabinet baseplate. Fasten these 2×4 blocking cleats directly to the sides of the joists using 3-inch structural wood screws. This creates a solid, continuous wooden ledger directly beneath the cabinet toe-kick, giving both the cabinet and your new subfloor panels a solid surface to rest upon.
Step 6: Measure, Fasten, and Level the New Subfloor
Measure your openings carefully, leaving a 1/8-inch expansion gap around walls and cabinet edges to accommodate natural seasonal expansion. Cut high-grade tongue-and-groove plywood or moisture-resistant subfloor panels to match.
Apply a generous bead of heavy-duty polyurethane subfloor adhesive along the tops of all exposed joists and the new perimeter blocking cleats. Lay the new panel into place, tap the tongue-and-groove joint tight, and secure it using exterior-grade wood screws driven every six inches along panel edges and every eight inches into intermediate joists. Finish by sanding down any slight ridge height variations at the seams so you have a perfectly flat surface.
Preparing Your Fresh Subfloor for Resilient New Flooring
Once your subfloor is rock-solid and properly reinforced, you are ready to install a beautiful, durable finished surface. Because kitchens, bathrooms, and laundry rooms handle heavy daily foot traffic, dropped utensils, and inevitable spills, pairing your fresh subfloor with the right flooring material is vital for lasting durability.
Waterproof luxury vinyl plank from industry leaders like COREtec and MSI provides realistic hardwood visuals while offering complete protection against surface moisture. If you prefer natural beauty, engineered hardwood from collections like Anderson Tuftex, Cali, and Wickham delivers timeless sophistication with enhanced structural resistance to seasonal humidity swings. High-performance waterproof laminate is another outstanding option, combining authentic wood texture with superior dent and scratch resistance against active pets, heavy cookware drops, and busy foot traffic. To protect your investment, pairing your subfloor with a quality acoustic underlayment or vapor barrier will also dampen sound and create an extra shield against ground-level moisture.
Ready for Beautiful New Floors in Western New York?
Restoring your subfloor provides the strong, stable foundation your home needs, and our team at Custom Carpet Centers is here to help you finish the transformation with stunning new floors built for real life. Whether you want to explore waterproof luxury vinyl, timeless hardwood, or scratch-resistant laminate, we invite you to experience our extensive selection and personalized guidance.
You can visit our showrooms in Orchard Park, NY, Williamsville, NY, Tonawanda, NY, Niagara Falls, NY, and Jamestown, NY, or arrange our dedicated service in Olean, NY – Shop at Home.
Stop by one of our showrooms or book a Shop at Home consultation today as we proudly serve you across Buffalo, Orchard Park, Williamsville, Tonawanda, Niagara Falls, Jamestown, Olean, and all of Western New York.